With the complexity of modern electronic design, schematic connections can get complicated and difficult to read. Net aliases can be used to improve readability by electrically connecting two or more nets together with a net name. With numerous connections, this can easily lead to mistakes such as attaching the wrong net alias and shorting wires and manually editing each net alias in the design can be time-consuming. Efficiently edit net aliases in bulk with OrCAD Capture and Microsoft Excel.
This how-to will provide step-by-step instructions on how to edit net aliases in bulk by renaming a collection of net names in excel to accelerate the schematic design process.
To follow along, download the provided materials above the table of contents.
How-To Video
Selecting Net Aliases
Step 1: Open the provided design, BulkAliasDemo.dsn,in OrCAD Capture.
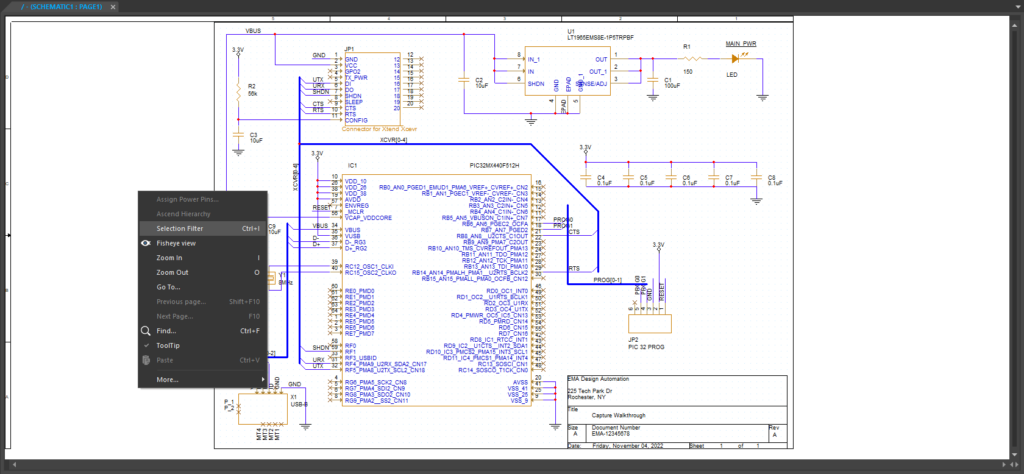
Step 2: Right-click anywhere in the canvas and select Selection Filter. The Selection Filter window will open.
Step 3: Select Clear All to deselect all objects.

Step 4: Check the option for Net Alias. Click OK.
Note: With this option selected, only net aliases can be selected on the schematic canvas.
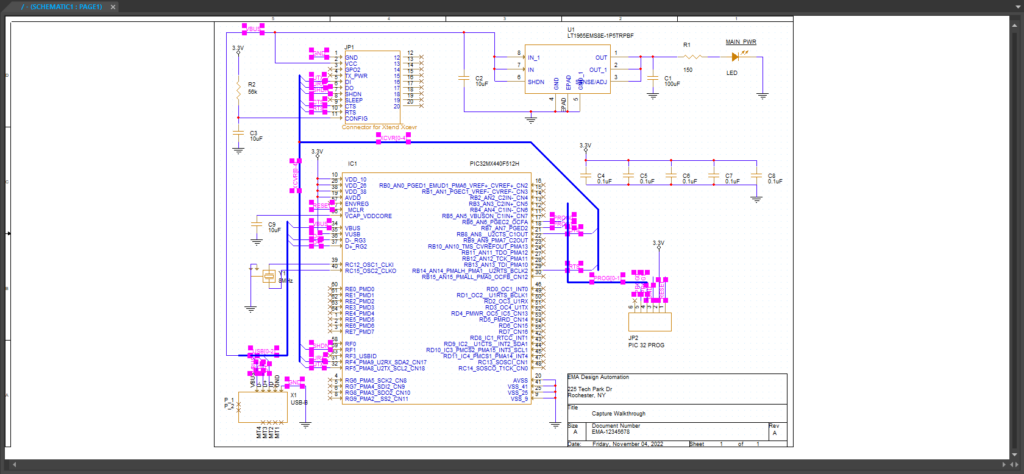
Step 5: Click and drag to select all net aliases in the design.
Note: This process can also be completed for specific nets by selecting only the desired Net Alias values to modify in Excel. This can be used if two nets have been unintentionally shorted by attaching different Net Alias values to the same wire.
Copying Net Aliases to Excel
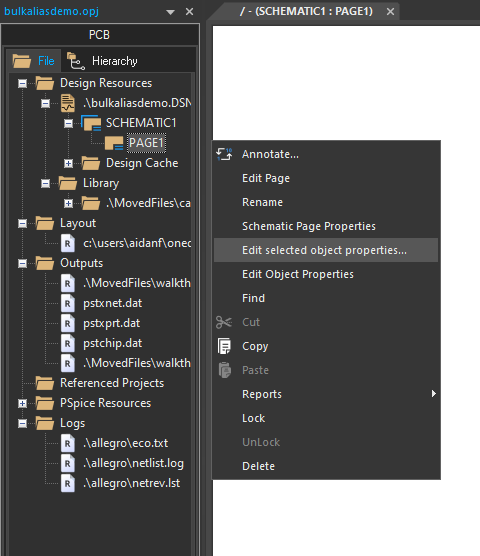
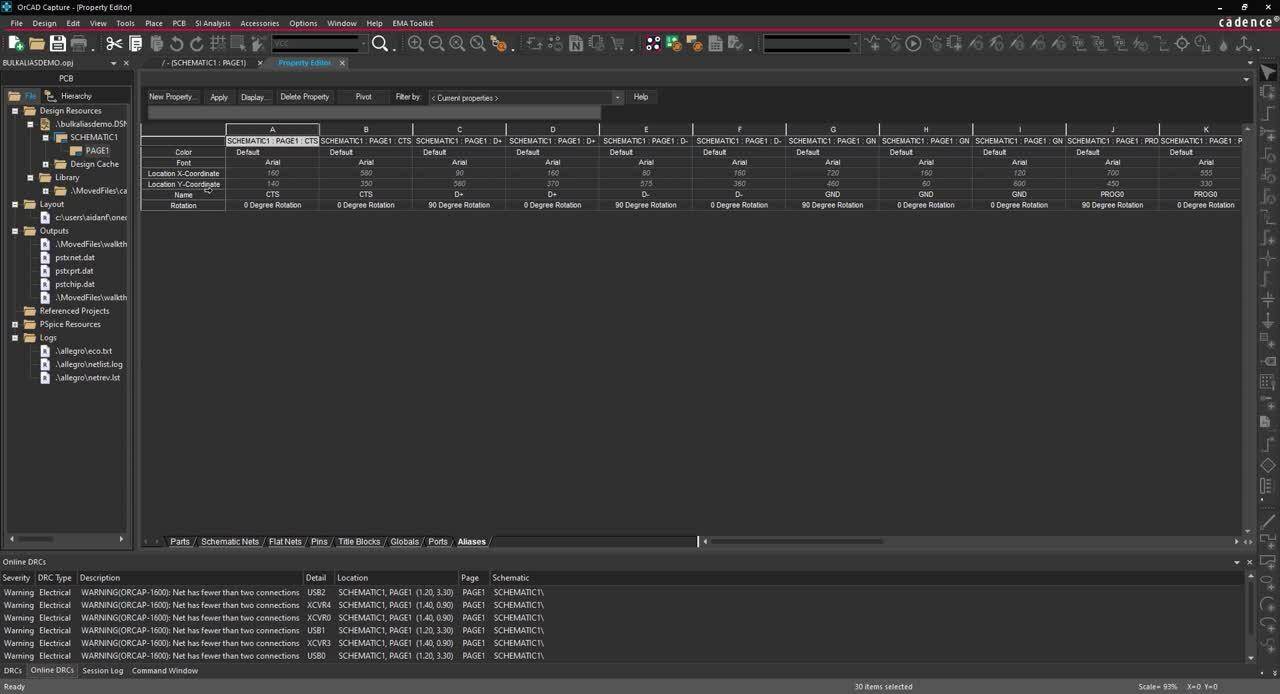
Step 6: Right-click PAGE1 in the project hierarchy and select Edit Selected Object Properties.

Step 7: Select the Aliases tab at the bottom of the window. The selected net aliases will be displayed.

Step 8: Click and drag to select the entire property table.
Note: Make sure there are no cells already selected before doing this.
Step 9: Press CTRL-C on the keyboard to copy the table.
Editing Net Aliases in Excel
Step 10: Open Microsoft Excel. Click to select a cell.
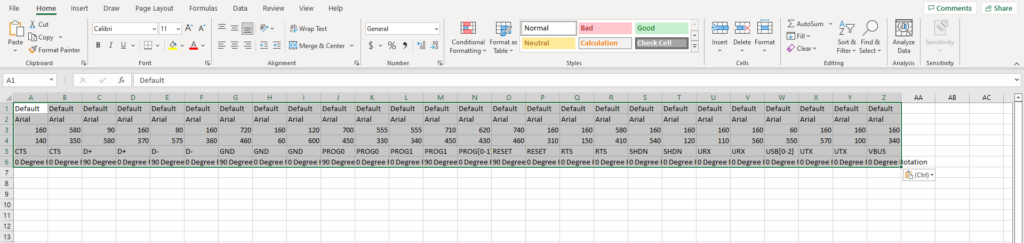
Step 11: Click Paste or use CTRL-V on the keyboard to paste the table.
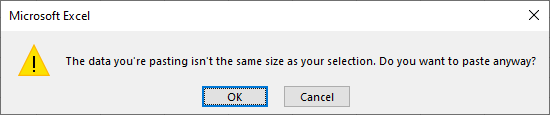
Note: You may receive a warning saying that the data you’re pasting isn’t the same size as the selection. Click OK to paste anyway. The selection box will resize automatically.
Step 12: Rename all instances of net CTS to U2CTS. Rename all instances of net RTS to U2RTS. Rename all instances of net URX to U2RX, and all instances of net UTX to U2TX.
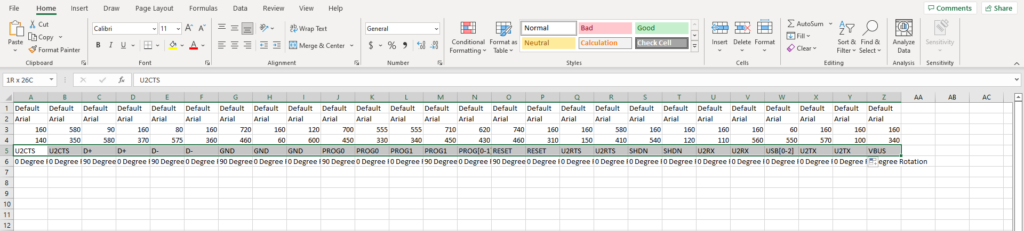
Step 13: Hold Shift and select the net names in the Excel table. Select Copy or use CTRL-C.
Applying New Net Aliases in OrCAD
Step 14: Back in Capture, click and drag to select all net names in the property table.
Step 15: Press CTRL-V on the keyboard to paste the new net names.
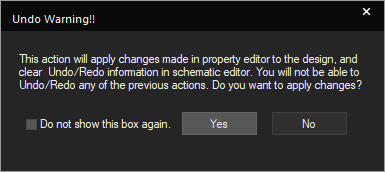
Step 16: Click Yes in the Undo Warning.
Step 17: Select Apply and close the Property Editor tab.
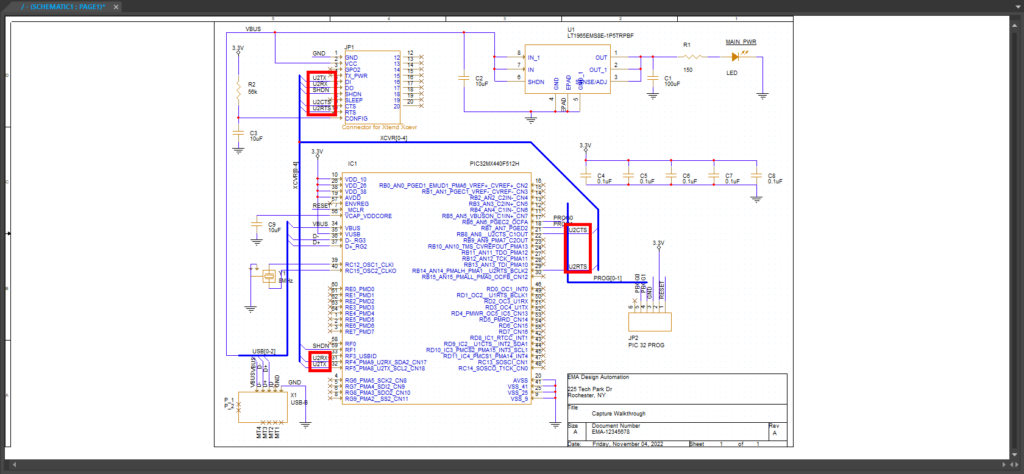
Step 18: View the results. The net aliases have been updated.
Wrap Up & Next Steps
Net aliases can simplify the schematic and improve readability but editing multiple aliases can become time-consuming. Efficiently rename net aliases in bulk using Microsoft Excel to fix unintentional shorts or update connections and streamline the OrCAD schematic design process. Learn more about how OrCAD accelerates the design process and get a 30-day free trial to test out the schematic and PCB functionality yourself.
