With products being sold in multiple countries, PCB variations are increasingly common in today’s market. While producing a singular PCB that can be modified during assembly reduces costs, it’s imperative any differences are accurately communicated to ensure a successful end product. Easily communicate design variants to manufacturers and project stakeholders with OrCAD Capture CIS.
This how-to provides step-by-step instructions on how to display color-coded variant components on the schematic and generate a variant report in OrCAD Capture CIS.
How-To Video
Assigning Colors to Variant Parts
Step 1: Open a design in OrCAD Capture CIS 17.4.
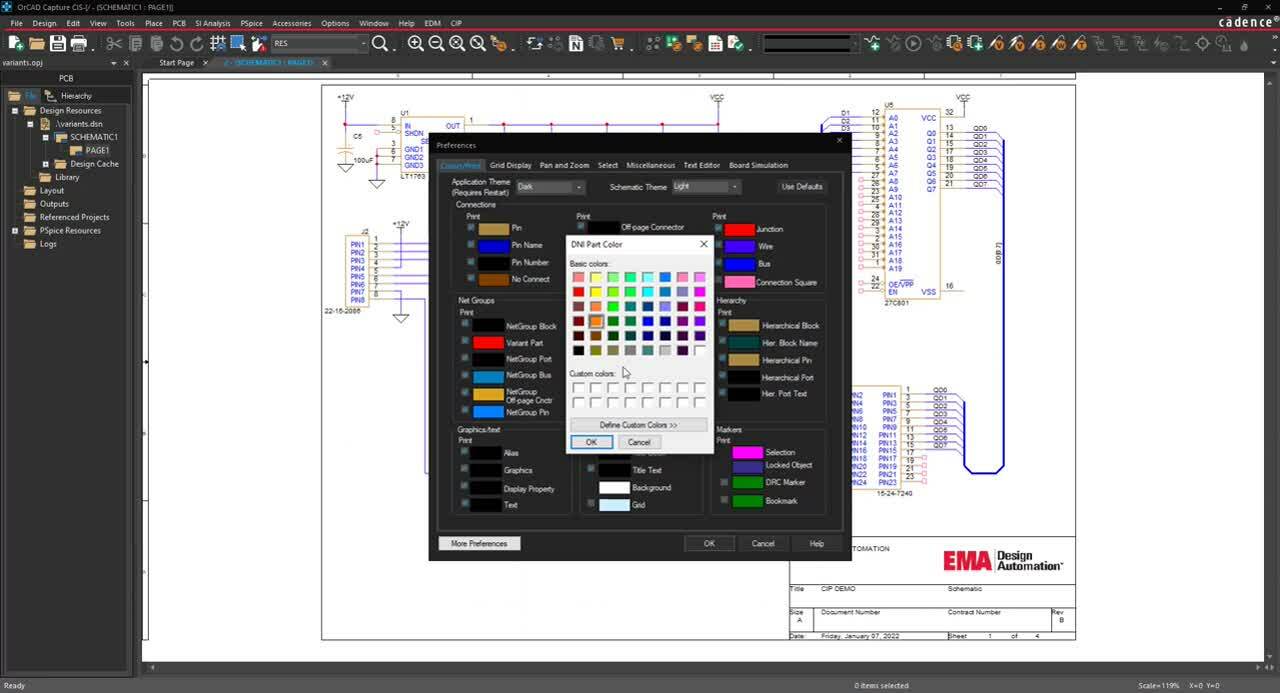
Step 2: Select Options > Preferences from the menu.
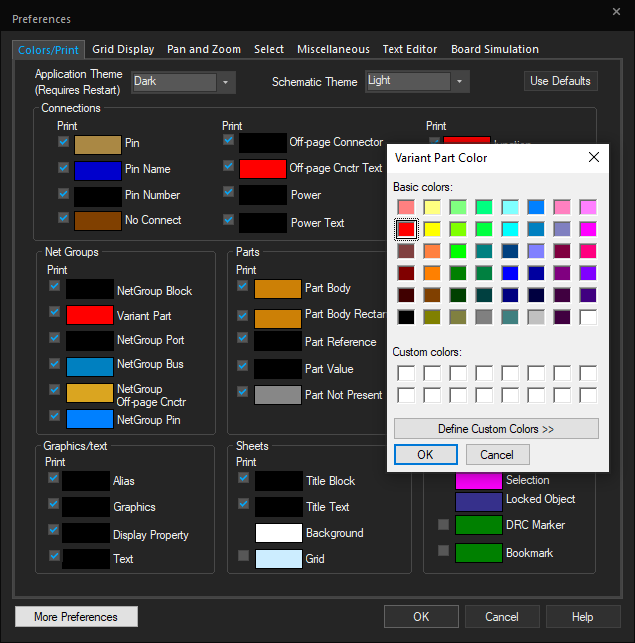
Step 3: Under the Colors/Print tab in the Options window, select the color box next to Variant Part. Select the desired color and click OK.
Note: This will color-code components with differing values in the schematic for easy identification.
Step 4: Select the color box next to Part Not Present. Select the desired color and click OK.
Note: This will color-code Do Not Stuff components in the schematic for easy identification. Make sure the check box next to Variant Part and Part Not Present is selected to activate the color display.
Step 5: Click OK to close the Options Window.
Viewing a Variant Design
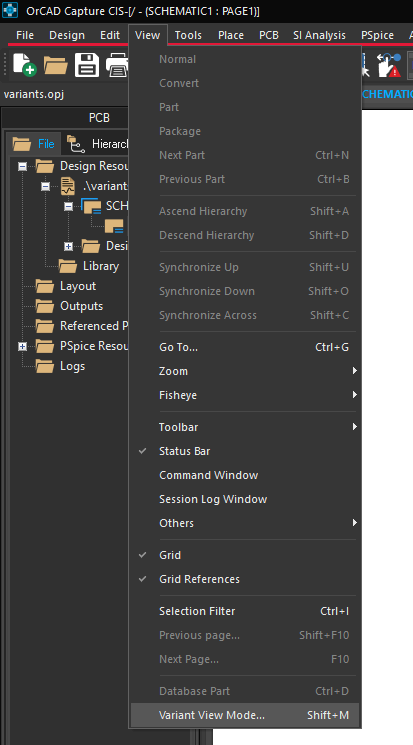
Step 6: Select View > Variant View Mode from the menu.
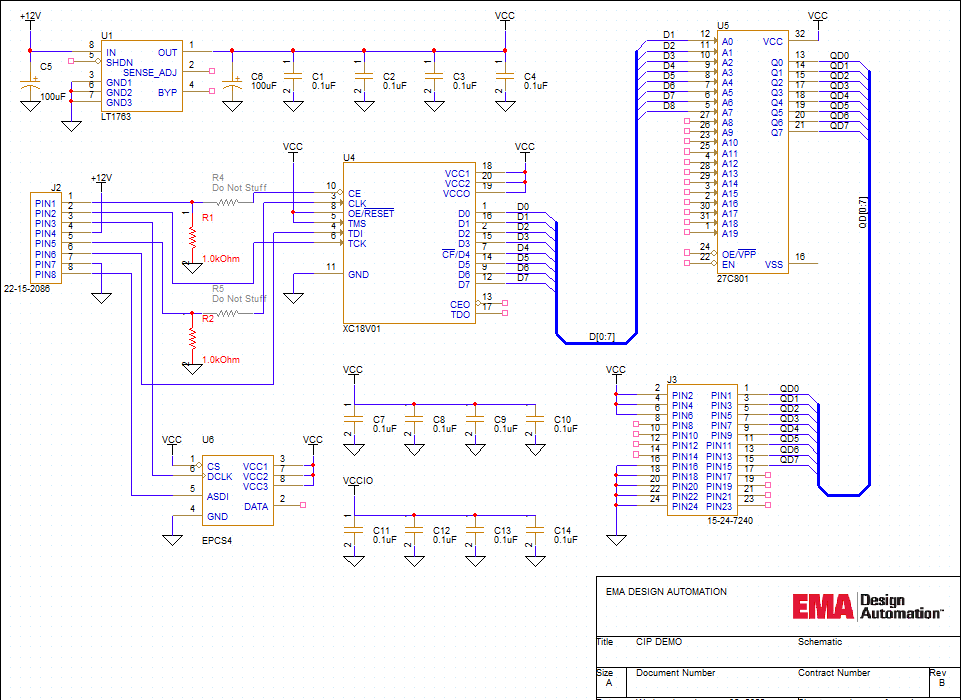
Step 7: Select the desired variant and click OK. Variant components are now color-coded on the schematic.
Note: Variant components will only be displayed if they are pre-defined in a BOM Variant. To define a BOM Variant, follow the steps below:

Step 1: In the Part Manager Tab, right-click on BOM Variants and select New BOM Variant.
Step 2: Name the new variant NV. Click OK.
Step 3: Under Groups, select the defined groups, one at a time, and drag into the new BOM Variant.
Viewing the Original Schematic
Step 8: Select View > Variant View Mode from the menu.
Step 9: Select Core Design and click OK.
Note: This will revert the schematic to its original form.
Generating a Variant Report
Step 10: Right-click on a schematic page in the project hierarchy and select Part Manager.
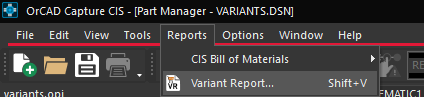
Step 11: In the Part Manager tab, select Reports > Variant Report from the menu.
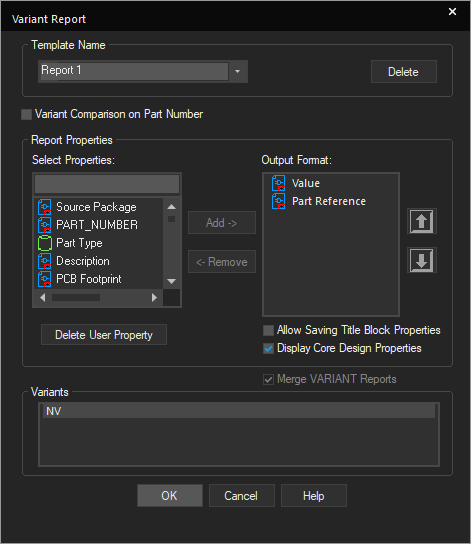
Step 12: Leave the defaults and click OK.
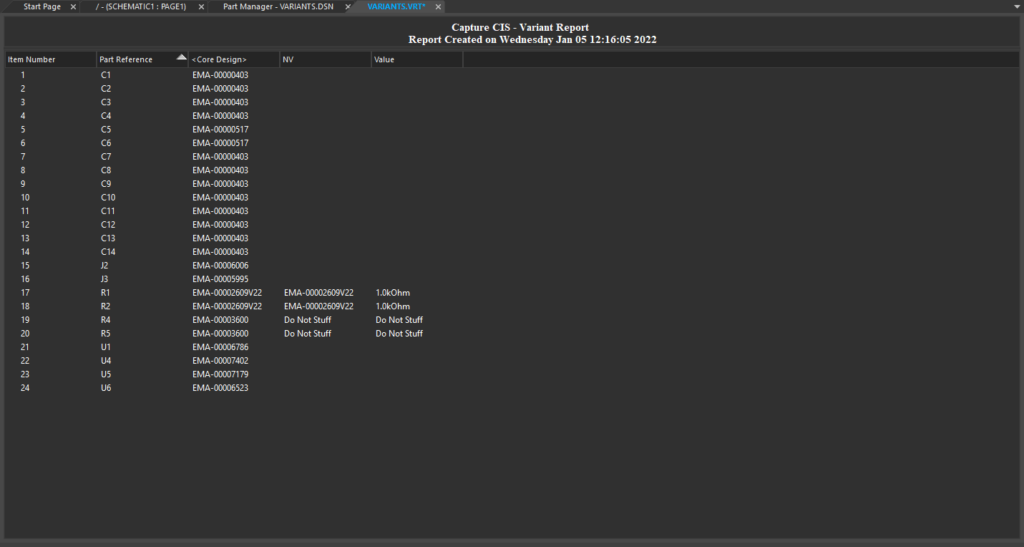
Step 13: View the Variant Report in the new tab.
Wrap up & Next Steps
Clearly communicate design variants and reduce confusion during the design process with color-coded visual identification and variant reports in OrCAD Capture CIS. For more information and in-depth training on additional features, view our E-Learning and instructor led courses for OrCAD Capture CIS.
